How to configure Google OAuth consent screen
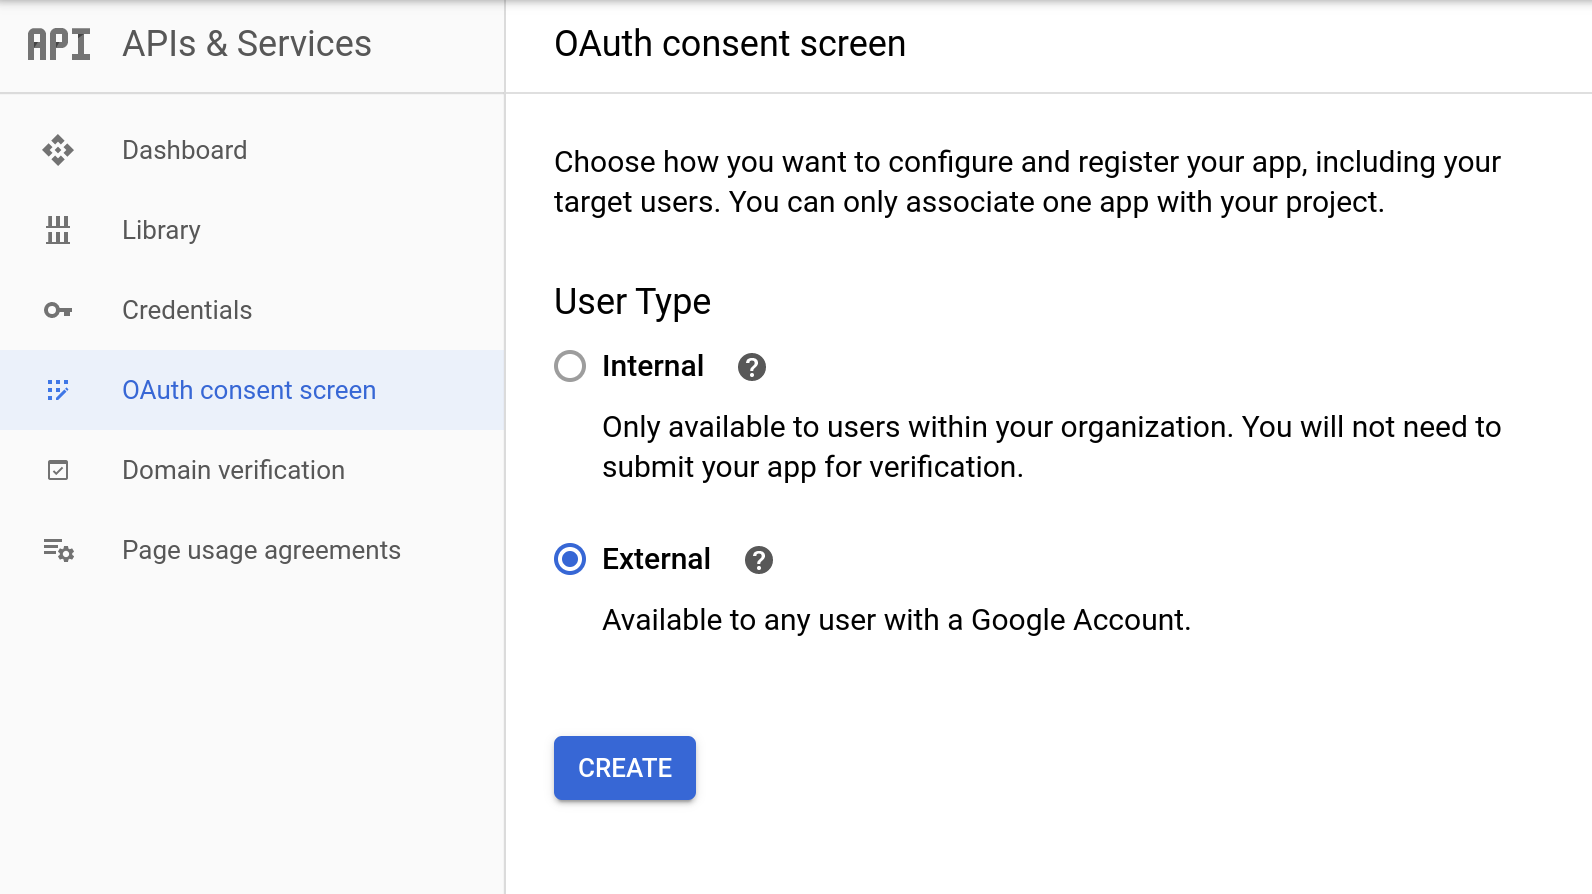
1: Navigate to "APIs & Services > OAuth consent screen"
Navigate to the Google Cloud Console OAuth consent screen configuration page
2: Select "External" as your UserType and click "Create"

By default, UserKit doesn't request any sensitive scopes, so Google verification isn't necessary (UserKit only requests the default openid, email and basic_profile scopes).
3: Enter your application name

4: Enter your website domain in the "Authorized domains" field

Enter the domains where you want to use Google Sign-in. For example, enter your production website domain (my-production-website.com) and your local development server domain (localhost:8080)
5: Click "Save"
You're now ready to create a Google client-id. On to the next step!
NEXT STEP: Create A Google OAuth client id
